HSP Official website page
OpenHSP GitHub [distribute HSP for RaspberryPI]
HSP for RaspberryPi Introduce
HSP online document ( + Google translate)
HSP online command-list
HSPTV news, community,BBS [distribute HSP for Windows]
HSP Windows version has a wealth of experience Over 20 years. But, HSP Raspberry Pi version is not perfect yet. HSP Raspberry Pi version is still young.
Your HSP is version 3.5 later + Raspberry Pi version. Please pay attention to this point and look for materials.
[ refer ] HSP overview
GPIO Out / In
command: devcontrol
Out
devcontrol "gpio", port_number, out_value
port_number = GPIO port number
out_value = 1(ON) or 0(OFF)
actual code example
devcontrol "gpio", 2, 1
In
devcontrol "gpioin", port_number
HSP has all-purpose-system-variable [ stat ]. You can refer to it anytime from your program.
stat = 0 or 1 or -1
You can detect that the GPIO port has changed.
actual code example
devcontrol "gpioin", 5
Sample code
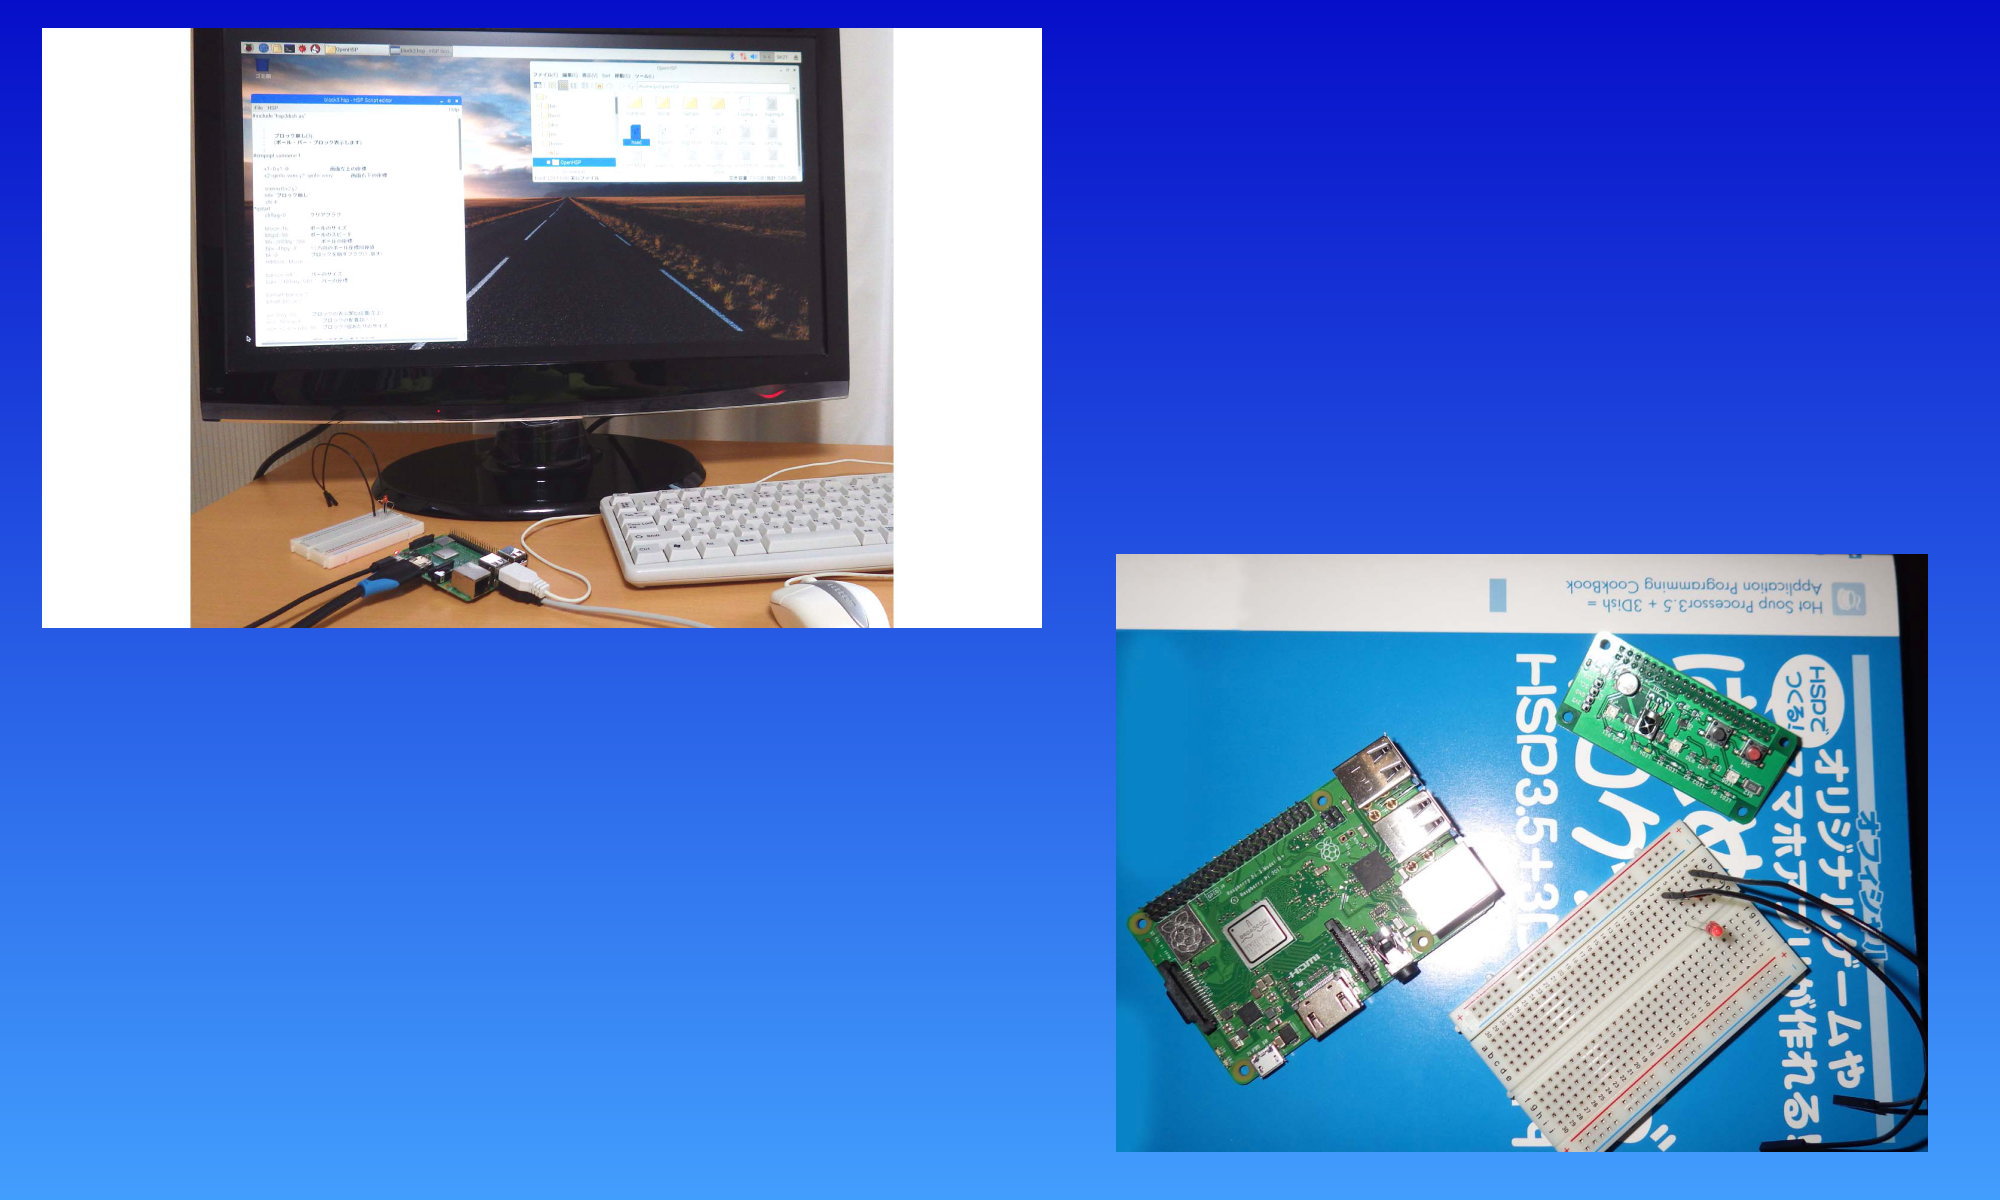
Do double click [ hsed ], launch HSP scripteditor. You can copy-paste these sample code. And menu [ HSP ] – [ run ]
You can quit (STOP) the program by [ esc ]key, or [ ctrl ] + [ C ]key.
Raspberry Pi GPIO Electronic kit is up to you. If you need it you can see simple example HERE.
Ex. ) GPIO 2 -> On LED
 #include "hsp3dish.as"
 devcontrol "gpio", 2, 1
 repeat
 redraw 0
 redraw 1
 await 16
 loop
Ex. ) GPIO 2 -> Off LED
 #include "hsp3dish.as"
 devcontrol "gpio", 2, 0
 repeat
 redraw 0
 redraw 1
 await 16
 loop
Please change the GPIO number freely depends on your electric circuit.
We need this part of code in HSP3Dish programming.
 repeat
 redraw 0
 redraw 1
 await 16
 loop
please, Do NOT delete those code.
Ex. ) blink LED
#include "hsp3dish.as"

repeat
redraw 0

devcontrol "gpio", 2, 1
await 200

devcontrol "gpio", 2, 0
await 200

redraw 1
await 16
loop
Ex. ) plural GPIO out 5LEDs
#include "hsp3dish.as"

repeat
redraw 0

devcontrol "gpio", 17, 0
await 80
devcontrol "gpio", 18, 0
await 80
devcontrol "gpio", 22, 0
await 80
devcontrol "gpio", 27, 0
await 80
devcontrol "gpio", 13, 0
await 80

devcontrol "gpio", 17, 1
await 80
devcontrol "gpio", 18, 1
await 80
devcontrol "gpio", 22, 1
await 80
devcontrol "gpio", 27, 1
await 80
devcontrol "gpio", 13, 1
await 80

redraw 1
await 16
loop
You can use variable. You can improve on a more efficient program.
a = 80
await a
Ex. ) detect GPIO In
#include "hsp3dish.as"

repeat
redraw 0

devcontrol "gpioin", 5
pos 0, 10
mes stat

devcontrol "gpioin", 6
pos 100, 10
mes stat

redraw 1
await 16
loop
- stat = 0 On
- stat = 1 Off
- stat = –1 error
HSP has all-purpose-system-variable [ stat ]. You can refer to it anytime from your program.
[ pos ] is starting position of drawing.
[ mes ] is print.
Let’s enjoy HSP programming !